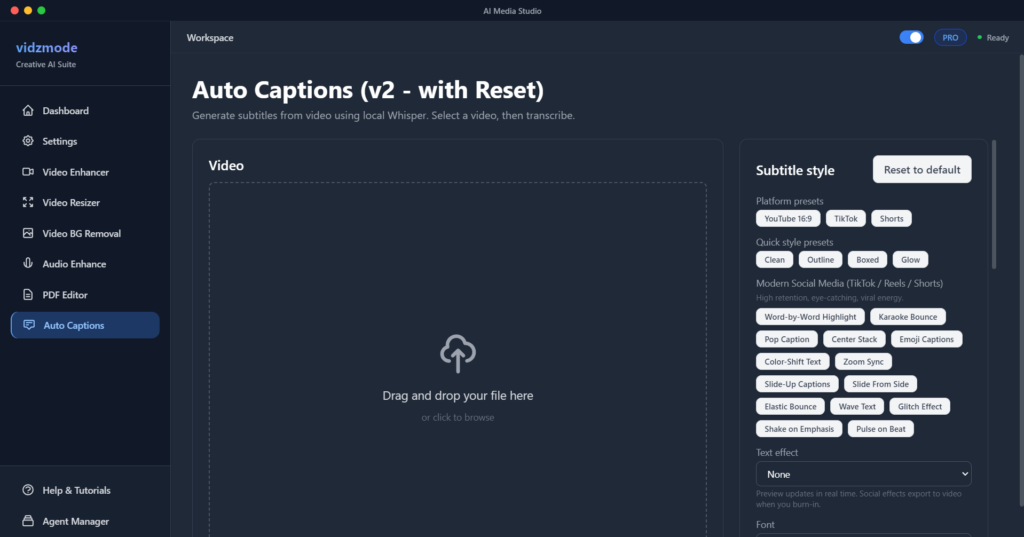
✨Key Features
- •Local Whisper transcription (no cloud uploads)
- •Language auto-detect or manual language selection
- •Segment editor with inline text editing
- •Text effects: Typewriter, Fade in, Word highlight, Bounce (preview)
- •Quick style presets: Clean, Outline, Boxed, Glow
- •Custom fonts and position presets (top / center / bottom)
- •Word-timestamp support for accurate word highlighting
- •Progress indicators for transcription and export
- •Burn-in export with ASS subtitles and video re-encode
📋How to Use
Open the “Auto Captions” tool from the sidebar.
Click “Add videos” or drag & drop your video file(s) into the panel.
Select the video you want to work on from the list.
Choose transcription language (or leave as Auto-detect) and model/quality.
Click “Transcribe” and wait while Whisper processes the audio.
Review and edit segments in the transcript list (fix typos, merge/split if needed).
Use the style panel to adjust font, size, colors, and apply a quick style preset (Clean, Outline, Boxed, Glow).
Optionally choose a text effect (Typewriter, Fade in, or Word highlight) for export.
Play the video to preview captions in the overlay and adjust position (top / center / bottom).
When satisfied, choose export format and click “Export with captions” to burn subtitles into the video.
💡Pro Tips
💡Shorter segments are easier to read – use the segment duration setting to control chunk length before transcribing.
💡If transcription language is known (e.g. always English), set it explicitly for faster, more accurate results.
💡Use the quick style presets as a starting point, then fine-tune font size, stroke, and shadow.
💡Typewriter and Fade in export to video; Bounce is preview-only and meant for experimentation.
💡Word highlight works best when word timestamps are enabled during transcription.
💡For social clips, keep captions higher on the frame to avoid platform UI (player controls, progress bar).
💡Use preview playback to verify that timing, line breaks, and styles are readable on your actual content.